You want a very easy way to have an automatic watering system. It isn't difficult and it's as customized as you want to make it. Below is something I bought that I don't think worked properly but I have a few timers...more about that in a minute.

First thing you want is a water timer. I have seen ones that have 1, 2, or 3 outlets for hoses for a particular area. This particular one only has one but they all work pretty much the same. Orbit makes them. You can find them online or at your usual places like Wal-Mart, Lowes and Home Depot.

They are battery powered so need to worry about electricity.

You have to program it. The way this works is you hook this to your spigot and you leave the spigot on. When the timer is set to go off, it releases the valve and water is allowed to pass through a hose. The initial set up is fairly easy. You set when, how long, how often, etc. If you want the thing to turn on, you just press Manual, if you want a rain delay, you just press the + button, and if you want it not to go off, you can set it to off or turn off the spigot.

Set the time
 \
\
Set what time of the day you want it to go off

How long you want it to go water.

How often you want it to go off

You will need a lead hose unless you attach it directly to the wall, but I find a short lead hose works fine.

In this particular case, I am water roses that in a straight line and relative proximity. So I am opting to use a soaker hose and sod staples. But you may opt to just use a regular sprinkler...it can be as simple as you want.

Sod staples to keep the soaker hose in place

This is the rose bed getting irrigated.


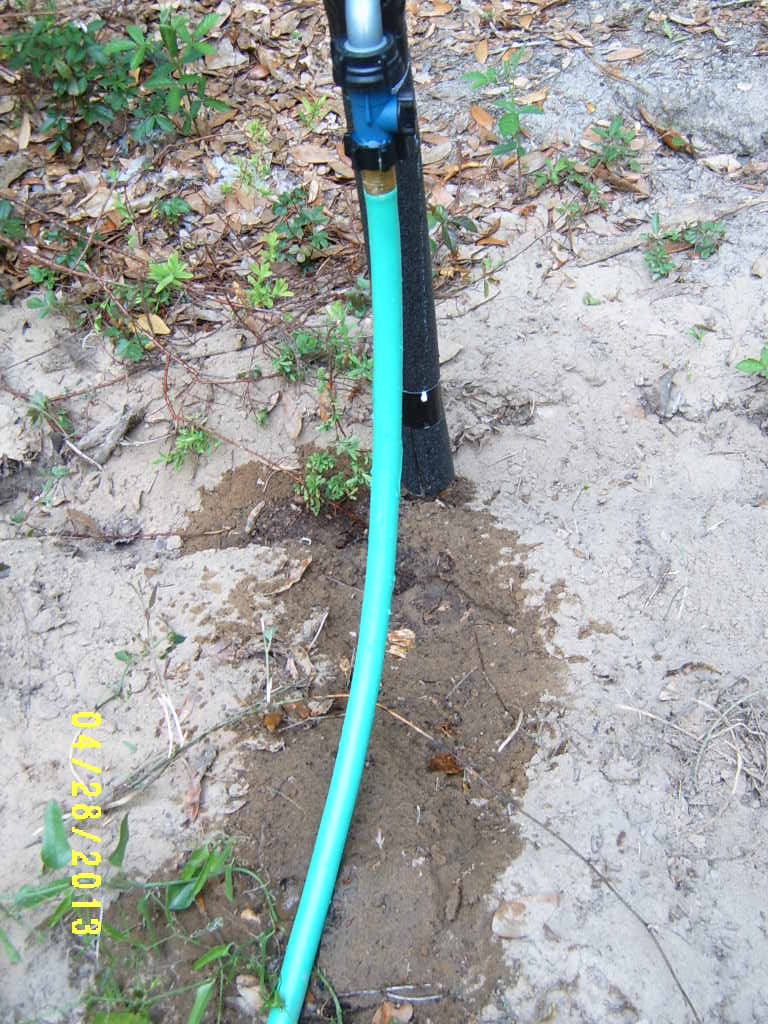
Next I ran a hose from the timer to the roses

I discover that initial timer had a faulty valve..I bought it refurbished. A couple of things here. You don't want leaks from the spigot or the top of the timer. Remember the trick is to leave the hose running but you don't want a leaky mess.
This one a tiny leak but nothing major. A good spigot and lead hose would remedy it. I put a hose fitting on this one because that is what I had available and it seemed to work. If it leaks out the other end, that isn't so bad..since it will only do that when the water is running through the hoses.

Since I am using two station, the other station I ran a hose to the other rose bed along the drive. This hose is approx 150 feet, but the distance it really needed to travel is less than 100 feet.

I already had a soaker hose in place with this rose bed so I just attached the hose

Roses are prone to black spot so I opted for a soaker hose over a sprinkler
 |
| Unlike the other soaker hose, this one is rigid, the other hose was collapsible. |

I brought out the soaker hose, took the end of to make sure all the debris was out of it. You tend to ignore an area that is automatically watered. Last week, I found a bee had gotten in the hose and stopped it up, so be sure to check on them from time to time.

Clearing the soaker hose.

Next I put the soaker hose in place with sod staples.

Ran them on either side of the rose bushes and sod stapled the soaker hose to hit the roots


Sod staples...
So that was my quick and dirty tutorial but you will love water timers once you get used to them.
3 comments:
http://3.bp.blogspot.com/-jyk8-Dn50Xs/UXNBxOjuxzI/AAAAAAAABTY/g54uNlf_Uvw/s320/100_5555%5B1%5D.JPG
Janie, can you take a shot of the butterfly garden and run it through your landscape program and add the bamboo edging?
okay, will try...you want them vertical or horizontal?
Made a separate post.....
http://alabamaroses.blogspot.com/2013/04/butterfly-gardenfor-museum.html
Post a Comment